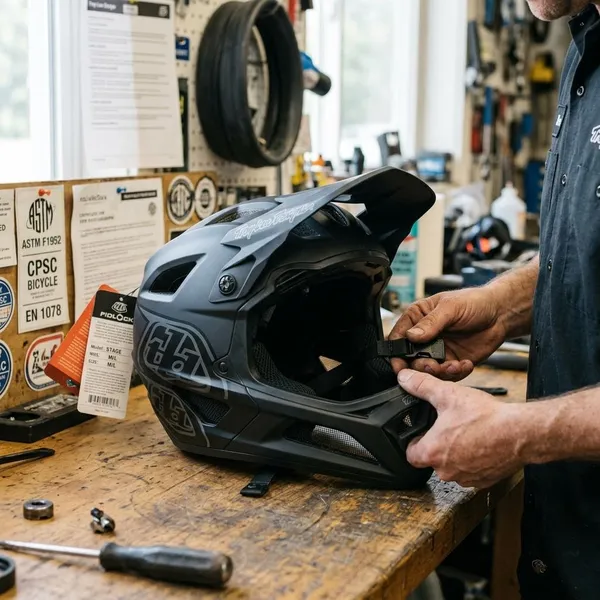
Start with the helmet that fits your head securely, then compare safety labels, test ratings, comfort, and ride type. A cycling road helmet is not automatically better because it is lighter, pricier, or more aerodynamic; the best choice is the one you will wear correctly on the rides you actually do.
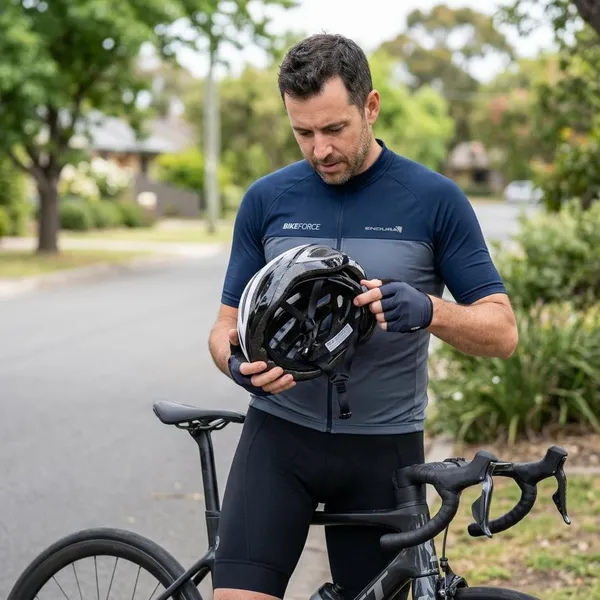
Safety checks for a road cycling helmet
Safety comes before vents, weight, and color. Treat the label and fit as the non-negotiables, then use extra test ratings and impact systems to narrow down good options.
CPSC compliance label for U.S. use
For riding in the United States, look inside the helmet for a CPSC compliance label. This shows the helmet meets the required U.S. bicycle helmet standard, which should be your minimum starting point.
If a helmet has no clear CPSC label, skip it for road use in the U.S., even if it looks well made or costs less online. A bargain helmet with unclear certification is not worth the uncertainty.
Independent helmet test ratings
Independent ratings can help once you have confirmed basic certification. They are useful when two helmets both fit well but you want another way to compare impact performance.
- Check the test source: Use credible, current testing rather than seller claims.
- Compare similar helmets: Road helmets should be judged against road helmets, not unrelated categories.
- Do not ignore fit: A highly rated helmet that shifts on your head is the wrong choice.
For a daily rider choosing one helmet for commuting, weekend rides, and group spins, a comfortable model with solid independent results is usually a smarter buy than chasing the lightest shell.
Mips and other rotational impact systems
Mips and similar systems are designed to help manage certain angled impacts by allowing controlled movement between the helmet and your head. You may also see brand-specific systems with different names and designs.
These features can add cost, but they are worth considering if the helmet already fits properly. Use them as a tie-breaker between good options, not as a reason to accept a helmet that pinches, rocks, or sits badly.
How to get the right road helmet fit
Fit is where many riders make the wrong compromise. A helmet should feel stable before you ride, but it also needs to stay comfortable after an hour or two on the road.

Measure your head and check the size chart
Measure around the widest part of your head with a soft tape measure, usually just above the eyebrows and around the back of the skull. Compare that number with the specific brand's size chart, because a medium in one brand may not match a medium in another.
- Measure in centimeters.
- Check the brand's exact size range.
- Try the suggested size first.
- Adjust the rear retention system before judging.
- Try another size or brand if the shape feels wrong.
Try the helmet for pressure points
A good helmet should feel evenly snug, not sharp in one spot. Pressure at the temples, forehead, or back of the head often means the helmet shape does not match your head, even if the size number looks right.
Do not judge comfort after only 30 seconds. If you ride long summer routes or weekend endurance miles, wear the helmet for several minutes and imagine it with sweat, sunglasses, and road vibration added.
Position it level on your head
The helmet should sit level, with the front edge low enough to protect your forehead but not so low that it blocks vision. If it only feels comfortable when pushed far back, it is probably the wrong shape or size.
Adjust the straps and retention system
Use the rear dial or retention cradle to secure the helmet without squeezing your head. Then set the side straps so they form a neat V just under each ear, with the chin strap close under the jaw.
- Rear dial: Snug, not painful.
- Side straps: Even on both sides.
- Chin strap: Close enough to stop lift, not choking-tight.
- Final feel: Stable without extreme strap tension.
Check that it stays secure when you move
Fasten the helmet and move your head side to side and up and down. It should move with your head, not slide around independently.
If you always ride with large sunglasses, test them with the helmet before keeping it. Some helmets press sunglass arms into your temples, which may not show up until a longer ride.
Choosing a road helmet for your rides
The right style depends on where speed, heat, and comfort sit in your priorities. Most riders are best served by a well-ventilated road helmet, while racing-focused riders may accept less airflow for aerodynamic gains.

Ventilated helmets for hot and long rides
Choose a ventilated helmet if your rides are long, hilly, slow in places, or often done in warm weather. Large vents help, but internal air channels matter too because they move air across your head instead of only creating holes in the shell.
This is the safest default choice for many recreational riders, fitness cyclists, and people who ride year-round in mixed conditions. If you are buying one helmet for everything, comfort usually pays off more often than a small aero advantage.
Aero road helmets for racing and faster rides
An aero road helmet makes more sense when your rides are fast enough for drag reduction to matter: road races, criteriums, pacelines, or flat solo training where you care about speed. The trade-off is usually more warmth and sometimes a slightly heavier feel.
For a rider who races twice a month, the compromise may be worthwhile. For someone doing relaxed weekend rides in humid weather, an aero helmet can feel like the wrong kind of "upgrade."
Time trial helmets for dedicated race setups
Time trial helmets are specialist tools, not normal road helmets with a faster shape. They are designed around a controlled riding position and often feel hotter, less versatile, and more awkward outside a race setup.
Buy one only if you actually race time trials or triathlons and can use it in the position it was designed for. For everyday road rides, training groups, fondos, and casual racing, a standard road or aero road helmet is the more practical choice.
When to replace your road helmet
A helmet can look acceptable from the outside and still be past the point where you should trust it. Replace it after a real impact, visible damage, or when the maker's age guidance says it is time.
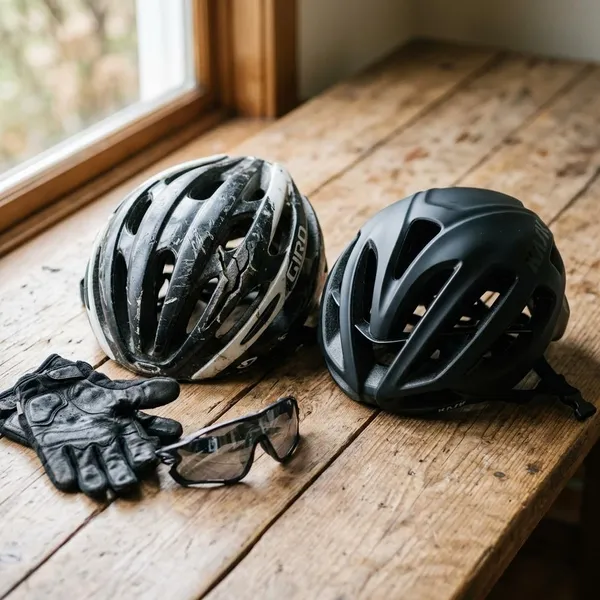
After an impact to the helmet
Replace a helmet after a crash or significant hit to the helmet. The foam can compress or crack internally, and that damage is not always easy to see.
If the helmet struck the ground, a car, a wall, or another hard surface during a fall, do not treat it like normal scuffed gear. When you are unsure whether the impact was serious, replacement is the safer decision.
When the shell, foam, or straps are damaged
Visible damage is a clear warning sign. Look for cracked foam, a split shell, loose shell sections, frayed straps, a weak buckle, or a rear dial that no longer holds tension.
- Crushed or cracked foam
- Shell separating from the liner
- Frayed or stretched straps
- Buckle that slips or sticks
- Retention system that will not stay tight
A helmet that cannot stay secure on your head is no longer doing its job, even if the outer shell still looks tidy.
When manufacturer guidance calls for replacement
Follow the brand's replacement guidance for normal aging. Sweat, sunlight, heat, travel, and repeated use can all wear down materials over time.
A daily rider who stores a helmet in a hot car or garage should be more cautious than someone who rides occasionally and stores gear indoors. If you do not know the helmet's age or history, treat that uncertainty as a reason to replace it.

Conclusion
Pick the helmet that clears the basic safety checks, fits your head without pressure points, and matches the rides you actually do most often. For most road cyclists, that means a certified, well-ventilated helmet with a secure fit; aero and time trial designs only make sense when your riding genuinely rewards those compromises.